Home Surveillance Camera Operation Procedures
2024-01-29 21:07:18
Home surveillance camera installation precautions
First of all, you need to prepare a camera, this is no problem, the market is very easy to buy one (recommended you to buy Logitech camera, the author is using this brand, the quality is very good). Next is the installation of the camera, the current general camera is a USB interface, and most cameras do not require external power, as long as connected to the computer on the USB port can be used normally.
If you want to use camera surveillance, you also need to download a software, this is Supervision Cam. This software provides a full-featured trial version. Although the software itself is in English, it is quite simple to operate. First download the shared version of this software. The downloaded file is an EXE format file. Run it directly. First you will see an interface. In this interface, select the installation language. As can be seen from Figure 1, the program provides a multi-language interface, but there is no Chinese, so you can only select English, click the OK button, follow the prompts to install.
Home Surveillance Camera Installation Notes: Startup and Setup
After the installation is successful, the program starts. First of all it will give the running setup interface. This is a feature of the software, which is given every time the program starts up. First we see the "Motion Detection" tab. Use the camera you installed in the "Settingsvideosource" item in this interface. Otherwise the program will not work. After selecting a good device, you can see the screen directly in the settings interface, huh, huh, the initial battle victory. If you use all of the program's default settings at this point, you can start working. First, we use the default settings provided by the program and do not use any extra settings.
Click "OK" button to confirm and return to the program interface. At this point you can see the corresponding screen information in the program interface, adjust your camera position to ensure that you can see what you need. Activate Supervision button, you can start capturing. The principle of the Supervision Cam is this: If the program finds that there is a change in the monitored image, such as the object moving, it will be automatically captured at the time interval you set and saved to the hard disk. In this way, changes in the monitored location can be realized in an unattended environment.
Double-click the captured image with the mouse. You can see the changed screen content in a small window in the lower left corner of the program interface. Because SupervisionCam can take screenshots of each changed scene, nothing will be missed. In addition, you can also click on the "Start the play mode" button below the interface, the program will automatically play all intercepted screens, so it looks more convenient.
The basic usage of SupervisionCam is like this. Now let's look at the other settings to make the program run better. Click the "Change Configuration" button in the program interface button bar to activate the runtime environment setting interface. The first thing you'll see is the "MotionDetection" tab, which we mentioned earlier in this screen. Now need to talk about detailed settings. In this interface, the "Video Capture Filters" button provides settings for setting the brightness, contrast and other settings of the captured screen, which can effectively improve the picture quality. In addition, there is a "Compareframeseash" option in the interface. Its role is to set the interval for comparing frame changes. This setting relates to the interval between video frames that the program can intercept. The program defaults to 0.5s. In addition, the program also provides a very professional setting, which is to add "Mask" to the capture screen. The so-called "Mask" can be understood as a mosaic, which is marked on the screen so that others cannot see this part. If you want to use this function, you can first choose to use the "Use Mask" check box, and set the use of "Maskedimage", and then click the "Mask" button in the interface, the program will give "Image Mask" window. Set the location where you want to mask.
Switch to the "ExternalSwihchs" tab, the program gives the interface. In this interface, the settings related to the output file to the external device are provided. If there is no related device, no selection is required.
Switch to the "SaveImage" tab, the program gives the interface. The "MotionDetection" item in this interface provides the setting for saving and capturing graphics. Generally, the default setting is used. Provided in the "SaveImageSettings" item is to automatically save the output file location, as well as automatically generated file name settings, save the output file format settings. In addition, there is an “Advanced†button in the interface. Click this button to activate the advanced settings of the saved output graphics format, including the clarity of the saved output file, the content that can be attached to the screen, etc. You can choose according to your own needs. use.
Switch to the "PlaySound/RunProgram" tab. The settings provided in this interface are whether to play the sound at the same time as the screenshot. The program uses this function by default. If you feel that it is not necessary, clear the "Playsoundwhenamotionwasdetected" tab. In addition. You can also run the specified application while performing the screenshot operation by selecting the “Runaprogramwhenamotionwasdetected†check box and then setting the loaded application in the associated “Program†item and setting the loaded “Parameter†item. Operating parameters.
Switch to the "SendMessage/Mail" tab, the program gives the interface. In this interface, it is provided that when the program finds that there is a picture change, the captured picture is sent to the user-specified mailbox by mail. If you use this function, you can directly receive the picture information sent by the SupervisionCam program. The setting method is very simple, and you can directly select and use the corresponding function. If you are on the local area network, the program can also prompt you by SMS. The method is very simple, enter the computer of the remote receiver directly in the "Computer" item in the "SendMessageSettings" item. For sending information to the computer and sending email notifications, you can click on the “Test†button in the interface to test to see if the settings are working. Note: This feature is only available for Windows 2000 systems. If you use Win98, it does not work.
Switch to the "HTMLPage/ServerUpload/DialIn" tab, the program gives the interface. If you want to publish the graphics captured by the program to your website in real time, you're right. First, in the "HTMLpagegenerator" item, set the name of the first page of the saved HTML page file, the file saving path, and so on. The file upload setting is provided in the “SaveUpload†item, where you can set the FTP server address, path, login user name and password. As long as there are new screenshots, the program will automatically upload. So that everyone can view your website through the Internet, Oh, the effect is good.
Switch to the "ActivityTiming" tab, the program gives the interface. Provided in this interface is the setup program's activation time, which is a bit like performing tasks in a scheduled task. With this setting, you can start monitoring automatically at a specified time, and you can capture more precisely what you need.
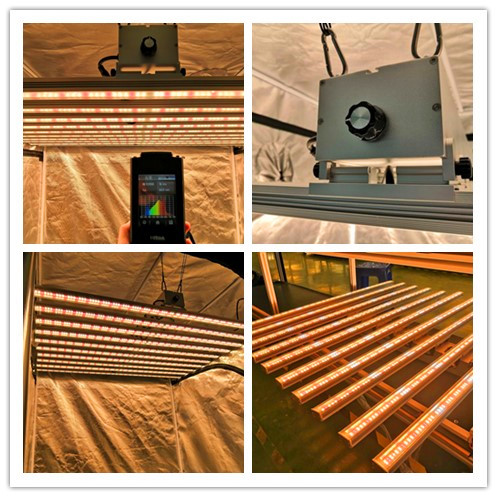
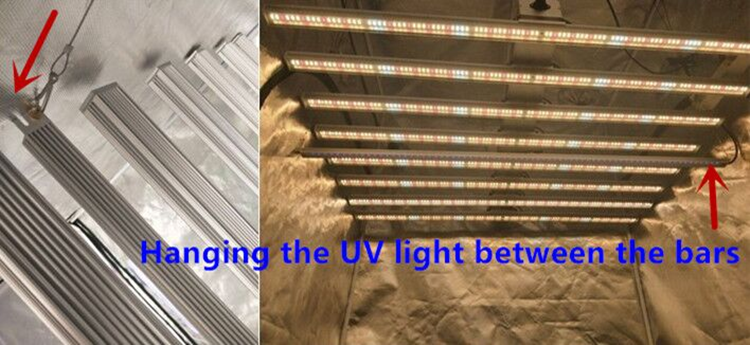
Led grow bars 320W, with 6head grow bar, samsung chip and meanwell driver, Epistar chip also available, 4/6/8/10/12 bars can be customized, each bar include 3500k white and 660nm red, the best spectrum for indoor plant growth, 3500 white can replace the sunshine lighting, give plants more energy.
Greenhouse Growing Light,Greenhouse Grow Lights,Greenhouse Plant Lights,Plant Grow Lights


Low Light Herbs,Cheap Grow Light For Herbs ,Indoor Herb Garden Light,Indoor Herbs Low Light
Shenzhen Wenyi Lighting Technology Co., Ltd , https://www.szwygrow.com